
Shopping Cart


Leather tooling is one of the oldest and most cherished techniques in leathercraft. It allows you to create unique designs with raised relief, giving each piece a distinctive character. In this article, we'll guide you step-by-step through the process of mastering the art of tooling, from the materials needed to advanced techniques, with key tips on taking care of your projects.
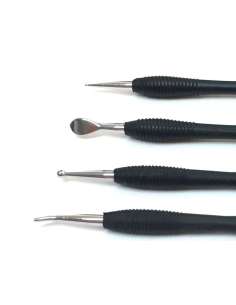
Before you begin, it's essential to have the right materials and tools. Here's a detailed list:
Find all these tools at our online store Curtidos Cabezas.
Choosing the right leather is critical for successful tooling. Here's a comparison of the two main options:
This type of leather is treated with natural products, such as plant tannins. Its advantages include:
Treated with chrome salts or other chemicals, this leather is cheaper and water-resistant. However, it has limitations for tooling:
Conclusion: For tooling projects, vegetable-tanned leather is the best choice due to its versatility and high-quality results.
Once you've mastered the basics of tooling, it's time to explore advanced techniques that will elevate your projects to the next level:
This technique involves creating marked reliefs. To do so:
Incorporate textures to add depth and contrast to your designs. Molds and stamps are perfect for:
.png)
Tooling isn't complete without proper finishing. Experiment with:
Combine tooling with other techniques like engraving or pyrography to create unique pieces. For example:
Once your project is complete, it's important to care for the leather to preserve its beauty and durability:
Leather tooling isn't just a technique; it's also a form of creative expression and craftsmanship. From personal accessories to home décor, tooling can transform simple leather pieces into true works of art.



Comments (0)