Este sitio utiliza cookies para personalizar el contenido, anuncios, analizar el tráfico y ofrecer otras funciones. Además, compartimos información sobre el uso con nuestros partners de analítica y redes sociales, quienes pueden utilizarla y combinarla con otra información que les hayas proporcionado. Puedes cambiar tus preferencias con el botón configuración.
Cookies Requeridas : Estas cookies son necesarias para facilitar la correcta navegación de nuestra página web y aseguran que el contenido se carga eficazmente permitiendo la correcta utilización de las diferentes opciones o servicios que en ella existan, como por ejemplo el proceso de compra.
Cookies Analitíca : Generan un ID de usuario, que es el que se utiliza para hacer recuento de cuantas veces visita el sitio un usuario.
Cookies de Marketing : Utilizadas para medir el rendimiento de los anuncios.
ad_user_data : consentimiento para publicidad de Google.
Rivets, Eyelets, and Snaps: How to Install Leather Hardware
Installing leather hardware is one of the most essential steps in leathercraft and saddlery. These small metal components not only ensure structural functionality (closing a bag, adjusting a belt, or reinforcing a stress point), but they also provide a clean, professional aesthetic finish.
However, when you are starting out, it is very common to wonder which tools to use, how to prevent damaging the leather grain, or which installation method to choose without an industrial press. In this step-by-step guide, we show you how to set rivets, eyelets (grommets), press studs (snaps), and buckles like a true artisan.
1. Types of Leather Rivets
Before punching or hammering, it is crucial to select the correct rivet based on your leather thickness and the load capacity your project requires.
Double-Cap Rivets (Rapid Rivets): The most popular choice for light leathercraft (wallets, small bags, wristbands). They feature a finished, domed cap on both sides, ensuring your workpiece looks clean front and back.
Tubular or Semi-Tubular Rivets: Widely used in footwear and strap goods where fast, permanent, and strong mechanical fastening is required.
Copper Burr Rivets (Solid Rivets): The strongest fasteners available. Made of a copper post and washer (burr), they are ideal for heavy-duty saddlery, tool sheaths, belts, and items subjected to high shear stress.
Sizing Tip: The rivet post should protrude between 1.5 mm and 2 mm above the total leather thickness before setting. If it is too short, it will not catch; if it is too long, it will bend sideways when struck.
2. Tools for Installing Leather Hardware
To ensure your rivets, eyelets, and snaps set firmly without leaving unsightly marks on the leather surface, having the right shop tooling is essential. Here is a breakdown of the key tools and how professional shop setups compare to makeshift methods:
Leather Hole Punch (Drive Punch or Rotary Punch): Designed to pierce precise holes matching your hardware shank diameter. The **professional** choice is a high-carbon steel drive punch or quality rotary punch pliers. A *makeshift method* usually involves drilling with a wood bit, which leaves frayed, torn edges on the leather fiber.
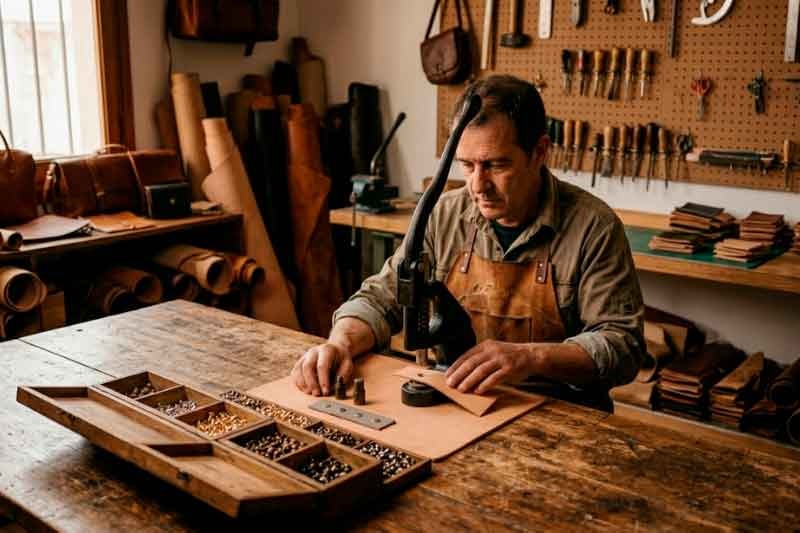
Rivet Setters and Anvils: Designed to set hardware while preserving cap curvature without flattening it. In a **professional** workshop, craftspeople use a concave anvil and matching hand setter or a manual rivet setter kit. As a *makeshift method*, hammering directly against a flat metal bench top invariably crushed and ruins the domed cap. For higher volume work, a bench hand press machine for rivets, snaps, and eyelets delivers flawless consistency.
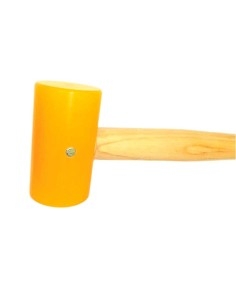
Polymer or Rawhide Mallet: Used to deliver striking force without mushrooming, marring, or chipping steel hand tools. The **professional** standard is always a heavy polymer or synthetic mallet. The *makeshift method* of using a steel claw hammer damages setting tools and rebounds dangerously.
Punching Board or Lead/Rubber Block: Protects the delicate cutting edge of drive punches and absorbs impact shock. On a **professional** workbench, craftspeople use a high-density nylon cutting board or thick poundo board. The *makeshift method* of punching against hard steel immediately dulls and chips sharp punch edges.
3. How to Set Rivets in Leather
Setting double-cap rivets is a quick process when following these steps:
Measure and Mark: Mark your hole center precisely using a scratch awl or divider.
Punch the Hole: Use a drive punch sized to match the rivet post diameter (neither too loose nor too tight).
Insert the Rivet: Pass the post through from the back side of the leather and snap the top cap on from the front side until you feel a light click.
Set with the Tool: Place the bottom cap into the concave anvil recess, align the cupped setter over the top cap, and deliver one or two firm, square blows using a manual rivet setting kit and your mallet.
4. How to Set Eyelets Without a Press
Eyelets (grommets) are essential for drawstring channels, lacing holes, or decorative ventilation. Even without a heavy bench press, you can install them cleanly by hand:
Punch a hole through the leather matching the inside barrel diameter of the eyelet.
Insert the eyelet barrel from the finished front side through to the back side of the leather.
Place the washer over the exposed barrel on the back side.
Use an eyelet hand setter tool kit: rest the flared front flange on the base anvil, place the flaring anvil shaft into the barrel, and strike firmly to split and roll the metal barrel neatly over the washer.
Pro vs. Makeshift Tip: A common mistake is attempting to crimp eyelets using pliers or screwdrivers. This distort the metal and gouges the leather surface. Using a dedicated setter kit guarantees a uniform roll that will not snag clothing or threads.
5. How to Install Line Snaps (Press Studs)
Press studs / line snaps (such as Line 20 or Line 24 snaps) consist of 4 distinct parts: two for the top socket assembly (cap and socket) and two for the bottom stud assembly (stud and post).
Set the Top Socket Assembly: Punch the hole, insert the cap post from the finished side, fit the socket over it on the inside, and set it using the matching concave cap anvil and domed setter shaft. You can rely on a snap and rivet hand setter kit.
Set the Bottom Stud Assembly: Punch the second hole on the mating flap, pass the eyelet post from the underside, drop the stud over it, and expand the post shaft with a flat-center anvil setter. For maximum shop output, a comprehensive press machine snap kit is also available.
Always hold your setter dead vertical when striking; an off-center blow can crush the snap spring mechanism, preventing it from snapping securely.
6. How to Attach a Buckle to a Belt Strap
The buckle is the focal centerpiece of any belt, harness, or strap. To mount it securely on a leather strap:
Punch the Tongue Slot (Oblong Slot): Punch two round holes 1.5 cm apart and join them with a utility knife, or use a dedicated oblong slot punch.
Feed the Buckle Tongue: Slide the strap through the buckle frame so the buckle tongue (prong) protrudes through the oblong slot you cut.
Fold the Leather: Fold the strap end back toward the underside.
Secure the Foldover: Secure the folded leather tail by **hand-stitching** with waxed thread or setting **two double-cap rivets** on either side of the belt keeper loop.
Frequently Asked Questions (FAQ)
### What if my leather is too thin for the rivet post? If the leather is too thin, the rivet shank will not compress tightly and will remain loose. You can cut a small leather washer (spacer/shim) out of scrap and place it on the back side before closing the rivet. ### Can I install hardware without punching a hole first? This is strongly discouraged. Forcing hardware directly through unpunched leather tears the fibers, distorts the metal plating, and leads to premature hardware failure under tension. ### Why do my rivet caps flatten or crush when hit? This usually happens for two reasons: you are striking with a hard steel hammer instead of a synthetic mallet, or you are placing the domed cap on a flat hard surface instead of a cupped setting anvil.
Everything You Need for Your Leathercraft Projects
Working with premium hardware and professional setting tools makes all the difference between an amateur project and a refined, heirloom-quality leather goods build.




Comments (0)